
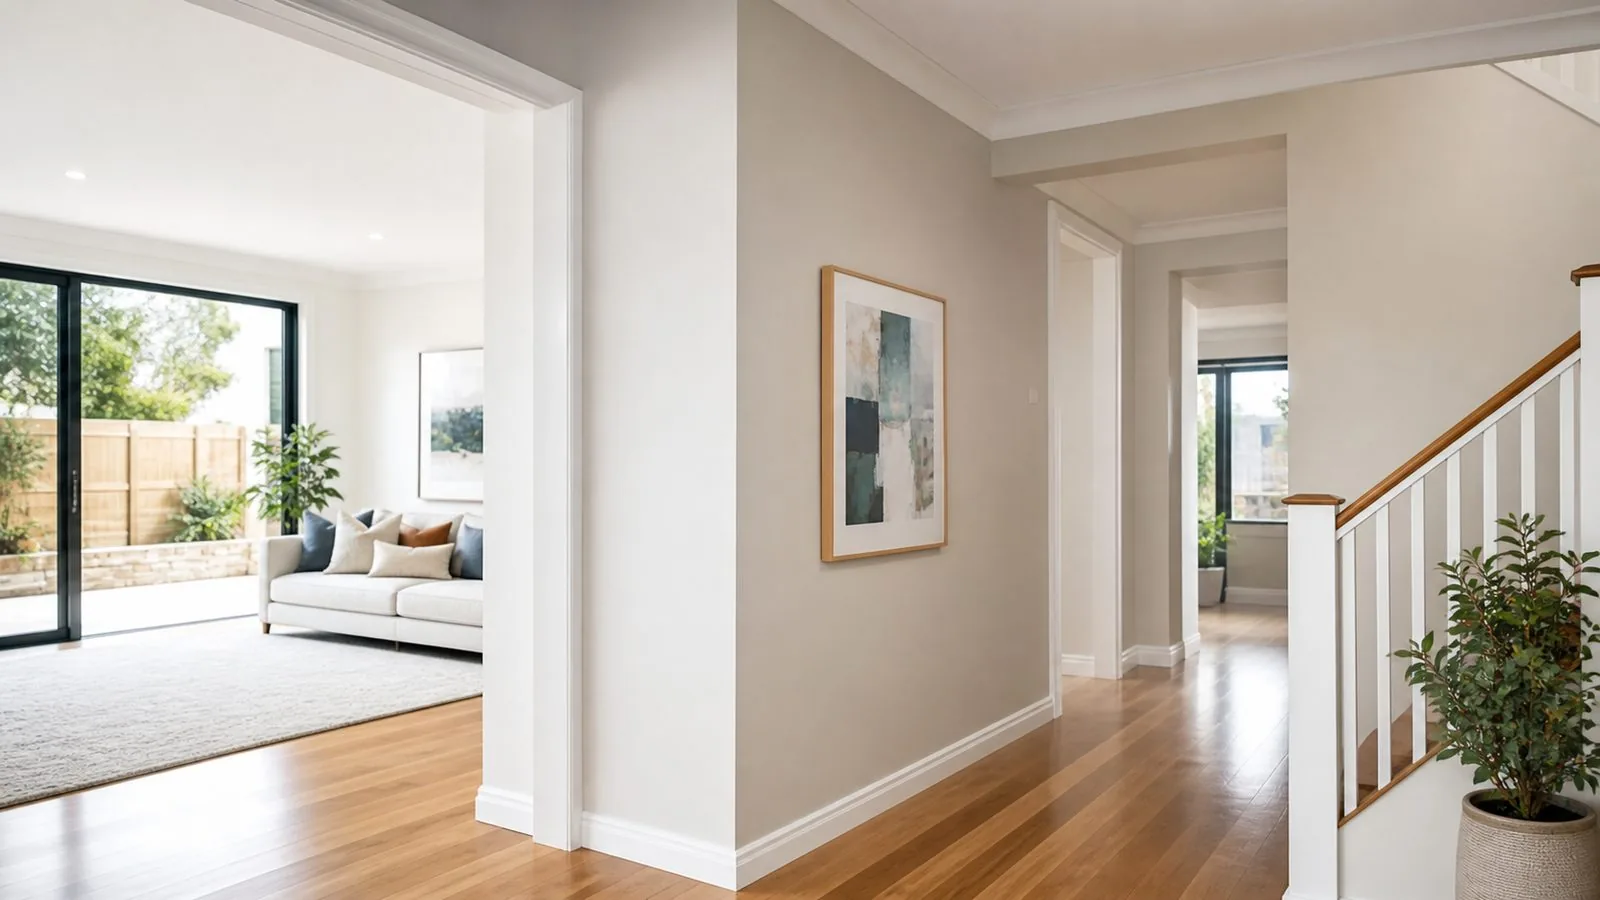
Name the parts before counting the doors
A door opening contains more than the door leaf. The frame surrounds the opening, the stop is the part the closed door meets, and architraves cover the junction between the frame and wall. Skirting runs along the wall at floor level. Window reveals, sills and associated trim introduce further surfaces. You do not need trade vocabulary to describe them perfectly, but photographs with simple labels help. Pointing to a complete doorway and saying 'this is included' can leave uncertainty about which faces and edges are being priced.
Create an opening list using location names that remain clear during the job: main bedroom to hallway, laundry to rear entry, or living room cupboard. Record whether each leaf and surrounding trim is painted, stained, clear coated or factory finished. Where the material is unknown, say so. Similar-looking doors can need different preparation and products. The list gives the painter a basis for checking quantities and suitability without relying on a quick count of openings from the floor plan.
When comparing quantities, distinguish an opening from the number of leaves within it. A pair of cupboard doors has two leaves, while a glazed door may have less painted area but more detailed edges than a plain leaf. Moulded panels, narrow glazing bars and ornate architraves also affect handling and preparation. Ask bidders to use the same opening schedule rather than comparing a single per-door allowance without context. Photographs of representative profiles help explain those differences. Include any sliding or folding doors that need separate access arrangements, and make clear whether tracks and associated frames are protected, excluded or part of the painting discussion.
Specify both faces and the visible edges
A bedroom door may have one face belonging to the bedroom colour scheme and another facing a differently coloured hallway. Decide which faces are included and how the colour changes at the edge. Ask the painter to show the proposed boundary with the door open and closed. Record it once in the schedule. Otherwise one stage may paint the entire door while another assumes only its room-facing surface was included. Cupboard doors can create the same confusion between the outside face and the interior.
Discuss top and bottom edges, rebates and any manufacturer requirements rather than assuming all hidden surfaces are either irrelevant or automatically included. Access to these areas may depend on whether the door is removed, which is a separate handling decision. A specialised door assembly can also have seals, labels or operating requirements that must remain effective. Ask how those will be protected. Do not let a general instruction to cover every surface override the door manufacturer's instructions or the intended function of hardware and seals.
Separate colour from coating suitability
Choosing the same white for walls and trim does not mean the same product belongs on both. Doors and trim are touched, bumped and cleaned differently from broad walls. The proposed coating needs to suit the substrate, existing finish and service conditions as well as the desired sheen. Ask for the product name in the quote or final schedule. 'Enamel finish' or 'premium trim paint' alone does not tell you enough to understand the actual system being proposed.
Let the painter assess whether the existing coating is sound and compatible with the new system. Do not perform solvent tests, sanding tests or scraping on unknown old finishes yourself. Previous layers may need a specific preparation strategy or hazard assessment before work. The Australian Government's Lead Alert guide is a useful starting point for understanding old-paint disturbance. For your scope, the practical question is who will identify the existing coating and explain the preparation required before approving the finish.
Agree how much old texture will remain
A fresh coating can change colour and sheen while leaving historic brush marks, filled dents and uneven profiles visible. If you expect a smooth contemporary finish on previously painted joinery, discuss that expectation before work is priced. Ask the painter to identify what routine preparation will improve and what would require more extensive work. A sample on a representative safe, assessed area can help establish the intended appearance. Do not assume that an extra topcoat will remove ridges or flatten a damaged edge.
The trade-off is often between retaining the existing joinery character and investing in more preparation or replacement. Ornate mouldings may be valued precisely because of their profile and age. Aggressive removal can change that profile and may introduce hazards if old coatings are involved. The appropriate approach needs assessment. Describe the result you want in visible terms, such as 'retain the existing moulded detail but reduce obvious filled dents', and ask for a realistic response rather than specifying a preparation method yourself.
Plan hardware work before the final coat
Handles, hinges, catches and door furniture create edges that need a clear treatment plan. State whether the existing hardware will stay or be replaced. A replacement handle with a smaller backplate may expose an area that the old fitting covered, so the painter needs that information before finishing. Ask who removes, labels, stores and reinstalls each item. If the painter's scope excludes hardware work, arrange the appropriate trade rather than assuming it will happen as part of painting.
Check the timing of locks, security fittings and access controls with the relevant installer. Painted-over moving parts or obstructed seals can interfere with operation. The coating scope should identify these as items to protect, not attractive extras to colour-match. Never dismantle electrical door hardware or exposed electrical components as preparation. For an occupied home, decide how privacy and security will be maintained if a door must be removed or remain out of normal use. That arrangement belongs in the programme alongside the finish specification.
Check operation before painting starts
Tell the painter about doors that already rub, stick, swing unexpectedly or fail to latch. Record those observations before work so that an existing problem is not confused with a new coating issue. Do not force a sticking door or attempt to plane it yourself to accelerate the job. A carpenter or suitable door specialist may need to assess alignment, clearance or hardware. Painting a door that already has inadequate clearance can make its operation harder to manage.
Ask how the selected coating affects the return-to-use plan. Surfaces that meet under pressure can stick if put into service before they are ready, and drying conditions matter. The manufacturer's product instructions should guide timing, with the painter giving specific advice for the actual door. Resene's door and joinery technical questions illustrate why coating choice and the existing surface need individual consideration. Avoid using a universal overnight rule for every water-based or solvent-based trim product.
Define the line where trim meets another material
Skirting can meet carpet, timber, tiles or a floating floor, each with a different edge detail. Ask what will be protected and whether a visible gap is part of the intended construction. Filling every gap is not automatically the right finish, especially where movement or drainage must be allowed. The same applies around windows and thresholds. Describe a junction that looks untidy and ask for a suitable detail; do not instruct the painter to seal it simply because a gap is visible.
Coordinate flooring changes before agreeing the final trim stage. New carpet may sit at a different height, while replacement flooring can expose an old unpainted strip. If skirting is being removed and reinstalled by another trade, settle the repair and finishing responsibilities. At a wallpaper junction, decide which trade finishes first and how the edge will be protected. These details are easier to resolve while the room is empty than after furniture returns and several contractors each believe their part is complete.
Treat built-in joinery and stairs as separate decisions
A cupboard carcass, laminate door and timber handrail should not be added to a trim quote by implication. Identify them individually, including the faces and interior areas you want coated. Ask whether the proposed product is suitable for that material and use. Kitchen cabinetry, shelving that carries objects and high-contact rails can need different systems from ordinary architraves. Existing factory finishes and veneers may also limit what preparation is appropriate. A painter should be able to distinguish the parts within their scope from specialist refinishing work.
Stair components need particularly careful scheduling in an occupied house because the route between levels may be essential. Separate balustrades, handrails, strings and treads in the discussion rather than calling them all 'the stairs'. A wall or trim product is not automatically appropriate for a walked-on surface. Ask about access restrictions and the relevant coating system before including floors or treads. If the household cannot maintain a suitable alternative route, the programme needs revision before work proceeds.
A two-colour hallway example
Hypothetical example: a hallway is to receive warm neutral walls and white trim, while the bedrooms retain their existing wall colours. The homeowner initially counts four doors. The schedule reveals that one is a cupboard with an unpainted interior, another has a clear-finished room face the owner wants to keep, and a third needs new handles. The fourth operates poorly and requires assessment before painting. A door count alone would not capture those differences.
The agreed schedule specifies the hallway face of each relevant leaf, the associated frames and stops, and the architraves visible from the hall. The clear-finished face stays excluded. Hardware replacement happens before final finishing around that handle area, and the poorly operating door is addressed separately. The homeowner also confirms whether skirting behind a fixed cabinet is accessible and included. This produces a narrower but much clearer brief than 'paint all hallway woodwork white', and makes competing quotes easier to compare.
Review the finish with the schedule in hand
At handover, walk the opening list with the painter and check the agreed faces, edges and colour boundaries under normal room lighting. Look for unintended coating on glass, hardware, floors or adjacent finishes, and discuss any concerns before attempting to clean them yourself. Ask the painter to demonstrate operation when the coating is ready for that check. Keep questions about function separate from questions about appearance so that a latch issue is not lost in a general discussion about brush marks.
Retain the final product and colour details for each trim group, along with instructions for closing doors, putting objects on shelves and cleaning surfaces. Mark any outstanding item by location and agreed next action. If a local repair would create a visible change in sheen, discuss the extent of refinishing needed rather than assuming a dab of leftover paint will disappear. The painting handover guide explains how to keep these observations clear and useful after the crew leaves.
Door and trim scope checklist
Walk through the accessible rooms and record these decisions without dismantling hardware or disturbing coatings. Use unanswered items to guide the site discussion.
Use a doorway list to track faces, hardware and finish choices.