
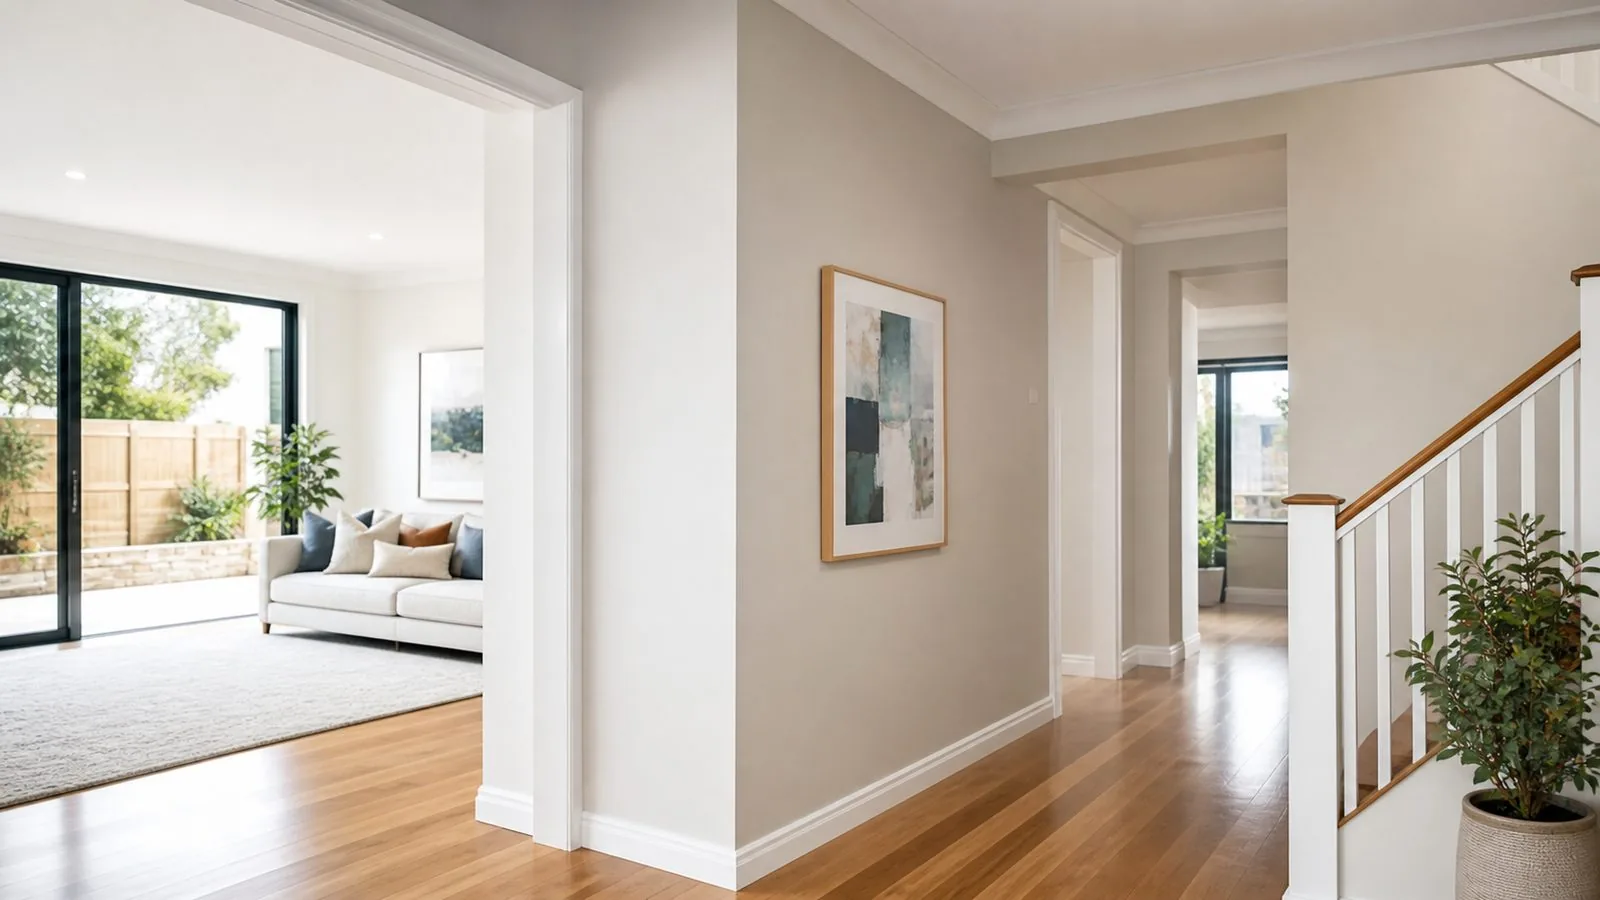
Understand what the sheen label tells you
Sheen describes how a coating reflects light, but the label is only one part of the product specification. Flat, matt, low sheen, satin, semi-gloss and gloss describe a general progression rather than a universal match between brands. Two products with similar names may look different on a large surface. Compare samples from the actual range being proposed. Ask for the product and sheen together in the painting schedule so a later substitution does not silently change the appearance.
A manufacturer's sheen selection guide can help explain the broad choices, but room suitability still depends on the product and surface. Avoid assuming the shiniest finish is automatically the best for every room or that a matt finish is unsuitable everywhere. Describe the practical demands first: regular wiping beside a dining table, side light along a hallway or minimal contact on a bedroom ceiling. Then compare the systems designed for those demands.
Treat side light as a design constraint
Light travelling across a wall reveals texture differently from light falling directly onto it. A long hallway with a window at one end may show joints, old repairs or roller texture that is less noticeable elsewhere. Visit the room when that light is present before approving the finish. Ask the painter which irregularities are in the substrate and which can realistically be improved within the preparation scope. A new colour alone does not flatten a wall or correct a poorly blended repair.
A lower-reflecting finish may suit a preference for a quieter appearance, but it should not be used to avoid discussing the wall condition. If you expect a highly uniform surface under strong side light, ask about preparation and a representative sample before the full room proceeds. Planned wall lights also matter. A decorative fitting that washes light down a wall can make surface detail much more visible. Tell the painter about it while the specification is being developed, not after the final coat is complete.
Separate washability from permission to scrub
Write down what cleaning actually happens in each room. A wall near a dining chair might receive repeated scuffs, while the wall behind a sofa may mainly collect dust. Product claims about washability or stain resistance should be read with the manufacturer's cleaning and curing instructions. They do not mean any cleaner, abrasive pad or amount of pressure is suitable. Ask for a simple care instruction for the selected product so the household does not damage the finish while trying to keep it clean.
Repeated rubbing can change the appearance of a coating, including creating a shinier patch. Dulux's technical guidance describes this effect as burnishing or marring. When discussing a busy passage or children's activity area, ask how the proposed system balances cleanability with the desired low-reflection look. Do not test an unknown old painted surface aggressively to compare it. Use the product information and an agreed sample of the new system to make that decision.
A useful comparison asks each proposed product the same questions. What cleaning method does the manufacturer permit, when can cleaning begin, and what kinds of marking does the household expect? Record the answers beside the product name. That makes it possible to compare a preferred matt appearance with a low-sheen alternative without assuming a marketing label answers every question. If the painter suggests a sample, agree what you are assessing: appearance under light, the match with trim or a manufacturer-approved demonstration of cleaning. Do not turn a fresh sample into an improvised abrasion test and use the result as a prediction of years of service.
Choose living-room walls around real activity
A living room can contain very different wear zones. The wall behind a television may rarely be touched, while a narrow route beside the sofa receives hands, bags and furniture contact. The same finish throughout can keep the room visually coherent, but the product still needs to cope with the busiest normal use. Describe those locations to the painter. If a highly matt appearance is a priority, ask which suitable systems offer that appearance and what maintenance trade-offs come with them.
Consider furniture placement before treating paint as the only answer to marks. Moving a chair slightly away from a wall or changing a congested route may reduce contact more effectively than increasing sheen. Deep or saturated colours also deserve a physical sample, because changes in reflection and local touch-ups may be more noticeable in some lighting. Make the sample part of the final product choice. A colour-only sample in a different finish cannot fully show the effect of the proposed wall coating.
Give hallways and entries their own wear brief
Hallways concentrate movement. School bags, coats, prams and people turning through doorways can repeatedly contact the same section of wall. Identify those points rather than requesting a generic hard-wearing finish for the entire house. Ask the painter which wall product suits that level of contact and how repairs would be handled later. If a narrow passage also has strong side light, there is a real trade-off between a reflective appearance and the finish characteristics available in the chosen range.
Entries may have muddy shoes, damp coats and repeated contact around switches, but paint should not be expected to solve the room's organisation. A place for bags and coats can protect a wall without changing its finish. Keep electrical fittings out of any homeowner preparation work; a painter or appropriate trade should plan protection or removal safely. Record the adjacent trim finish separately. Skirting and architraves take different knocks from the broad wall and may need their own coating system even when they share its colour.
Make bedroom decisions about use, not labels
A quiet guest bedroom and a child's bedroom used for play may need different maintenance characteristics. Write down whether the walls carry desks, beds pushed close to the surface, removable decorations or frequent fingerprints. Ask about compatibility before attaching adhesive hooks or decorations to new paint, including the required curing period. A freshly completed room should not immediately be treated as a test surface for a new adhesive. Follow both the coating and attachment product instructions.
The choice of sheen does not establish when a bedroom is suitable for occupation. Ventilation, product instructions and individual circumstances are separate questions. Request the product information and discuss any particular health concerns with an appropriate clinician. Avoid treating a low-odour label as a personal safety guarantee. For the visual decision, view the proposed finish under the bedside lamps and daylight normally used in the room. A finish that suits a bright display board can feel quite different on the wall beside a reading light.
Distinguish bathroom paint from water management
A bathroom or laundry needs a product suitable for the intended surface and conditions. Ask whether the specification is for walls outside direct wet zones, the ceiling or a different part of the room. Ordinary decorative paint should not be assumed to replace waterproofing or repair a leak. If a surface has recurring staining, peeling or dampness, the cause needs assessment before coating. Do not select a higher sheen in the hope that it will make an unresolved water problem disappear.
Tell the painter about the room's ventilation arrangements and any planned plumbing or extraction work. Those changes may need to happen before the final finish. Ask for the manufacturer's recommendations for the exact application rather than relying on the idea that every bathroom must use the same sheen. Product families differ. A kitchen also contains distinct areas: a general wall, a splash zone and cabinetry are not interchangeable painting surfaces. Identify them separately and ask where decorative paint is appropriate and where another finish is needed.
Specify ceilings and trim independently
Ceilings are usually judged from across the room and can receive light from several windows at once. The desired appearance may favour limited reflection, but the right system still depends on the surface and room. Stains, patched plaster and uneven existing texture should be assessed before the finish is chosen. Ask whether cornices are included with the ceiling product or have another specified treatment. A consistent schedule is particularly helpful where an open-plan ceiling continues through rooms with different uses.
Trim has a different job. Doors, window reveals, architraves and skirting are handled and cleaned, and a contrast in sheen can define their shape even when the colour matches the walls. Compare that contrast deliberately. If you prefer a softer appearance, ask for suitable lower-gloss trim options rather than assuming wall paint can be used everywhere. Record the actual trim product, not just 'white'. The door and trim guide explains how to identify faces, junctions and operating considerations.
A room schedule with different priorities
Hypothetical example: a homeowner wants one wall colour throughout a hall, living room and spare bedroom. The hall receives bags and frequent contact, the living room has strong afternoon side light, and the spare bedroom is used occasionally. Rather than changing colour in every room, the homeowner asks the painter to compare suitable wall products and finishes against these uses. A sample is reviewed in the living room and hallway, with the intended trim finish beside it.
The final choice keeps the wall appearance consistent where rooms connect, while assigning a separate trim coating to doors and skirting. The homeowner accepts that the hallway may need careful cleaning and that future local repairs could require a whole-wall recoat for a uniform appearance. They also change the coat-storage arrangement to reduce wall contact at the entry. The schedule records the trade-offs explicitly. It does not claim that one finish will eliminate every mark or make the existing walls perfectly flat.
Keep a finish schedule that a future painter can use
For each room, record the surface, product, sheen, colour and sample approval. Keep a photograph of the product label and note any agreed variation, such as a different ceiling system in the bathroom. If the painter changes products during the job, update the final record rather than leaving the original quote as the only reference. This information is useful when an electrician's later repair or a furniture mark creates a small area that needs refinishing.
Ask how a touch-up will be assessed before promising yourself an invisible repair from leftover paint. The existing film, application texture, colour and viewing light all influence whether a local patch blends. A full surface between natural boundaries may sometimes be the better visual option. At handover, obtain the correct cleaning and use instructions for the finished system. The value of a room-by-room sheen decision is that appearance, everyday use and future care have all been considered together, with a traceable product choice behind them.
Room finish planning checklist
Use this list to prepare a room schedule that describes real use. Ask the painter to match those needs to a suitable named product and sample.
Compare appearance and cleaning needs for each surface.